
Intro
Recently, I had the pleasure to attend the training on Windows Kernel Exploitation at nullcon by the HackSysTeam. The training was well executed, and I got the intro into the world of kernel. But, as you know, nobody could teach you internals about Kernel Exploitation in a couple of days. So I thought of diving into the kernel, and share everything that I learn in the process. The series would be coming in parts, as I find the time to learn and document everything that I encounter.
Prerequisites
- VMWare or Virtualbox (I’ll be using VMWare for this series)
- Windows 7 x86 VM
- Internet Connection for downloading symbols
- Powerful enough machine to run the VMs
- Basic know-hows in day to day computing tasks.
Why VMs?
Visualize kernel as the heart of OS. Now, if you have done any application exploitation in the past, you’d know that you basically crash the application and try to exploit the crash. Applications can easily be recovered once crashed, just double click to run again. Now, if you accidentally crash the kernel, it’s like stopping the heart, the OS would just halt/crash/BSOD, and could lead to loss of data, corruption etc. in your machine, and you’d be constantly rebooting the whole machine. VMs are easily setup, isolated and causes no harm if corrupted. Many people just run the Debugee VM (the machine which you’d be crashing alot) in the VM, and keep their host as the Debugger machine. I’d be running the setup where both of them would be VM, just to keep things neat and tidy.
Steps
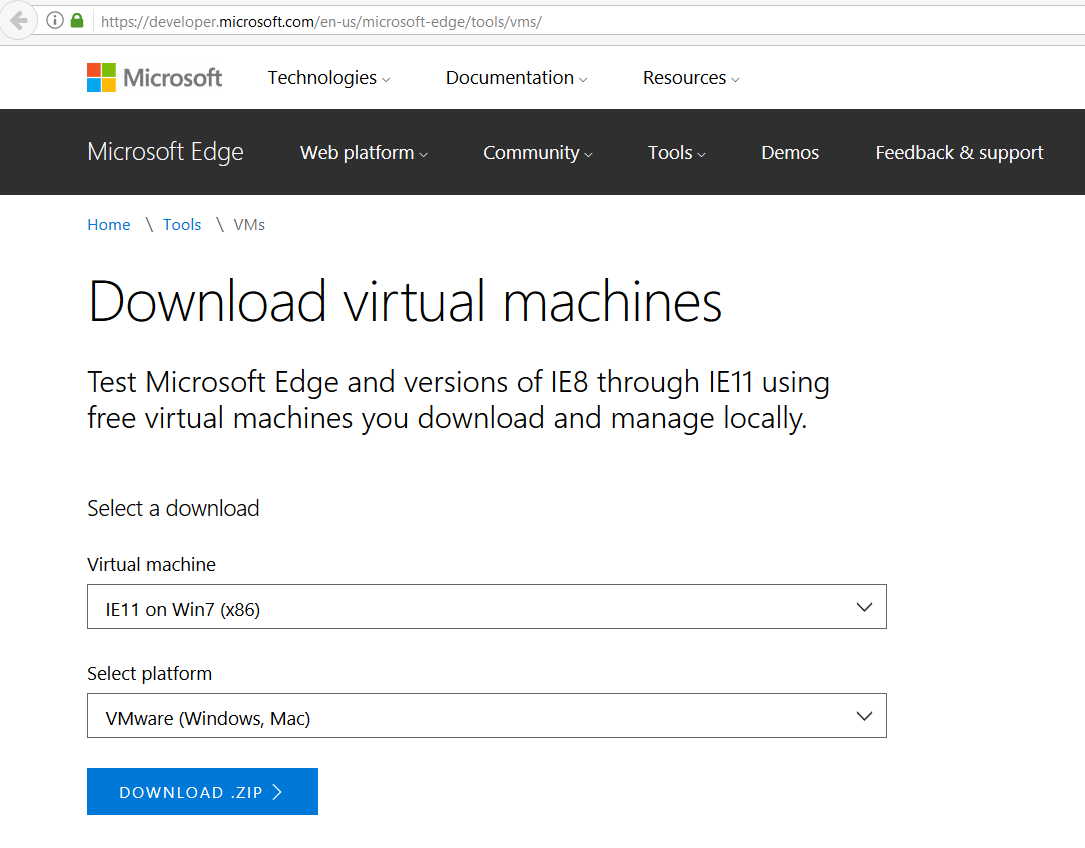
- Install Windows 7 x86 in the VM, free download is available at Microsoft VM download page.
- After the Debugger VM is setup and ready to boot, we’d need to install WinDbg, get it here.
- We’d also need to setup Debugging Symbols in the Debugger VM. Fortunately, Microsoft provides public debugging symbols.
- Go to Computer –> Properties –> Advanced system settings –> Environment Variables.
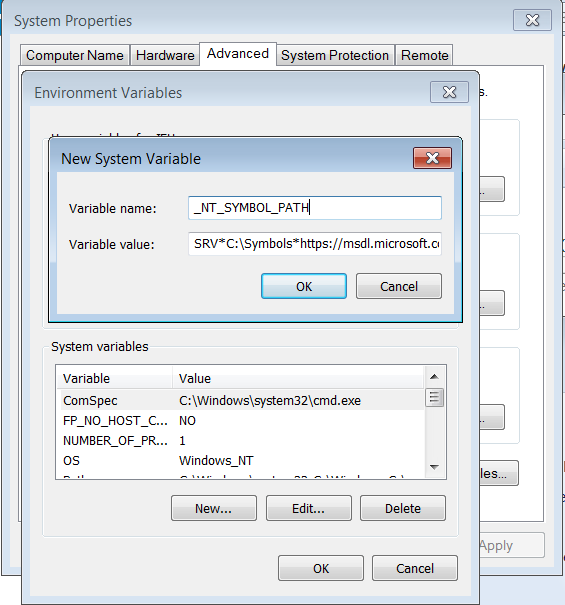
- Create a new System Variable as follows:
- Variable Name: _NT_SYMBOL_PATH
- Variable Value: SRV*C:\Symbols*https://msdl.microsoft.com/download/symbols
- After WinDbg is installed, we would need to enable debugging in BCD:
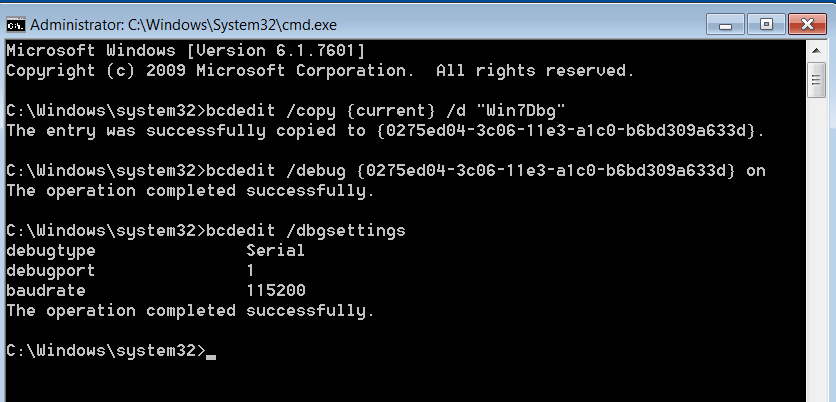
- Run cmd as administrator, and execute the following commands:
123bcdedit /copy {current} /d "Win7Dbg"bcdedit /debug {0275ed04-3c06-11e3-a1c0-b6bd309a633d} onbcdedit /dbgsettings
- Run cmd as administrator, and execute the following commands:
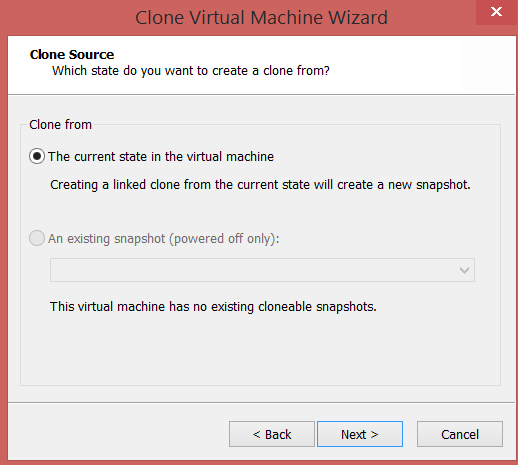
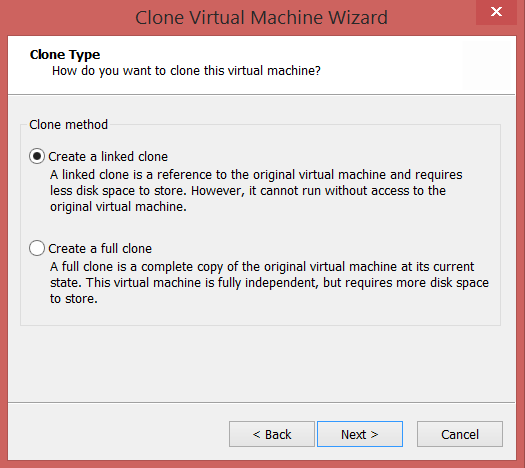
- Now, we’ll create the Debugee VM, by creating a linked clone of the Debugger VM.
- Power off the Debugger VM, Right Click –> Manage –> Clone.

- Now, we need to enable Serial Ports on both the VMs, so as to make them communicate using a Virtual Serial Port.
- For the Debugger VM, Right Click –> Settings –> Add –> Serial Port
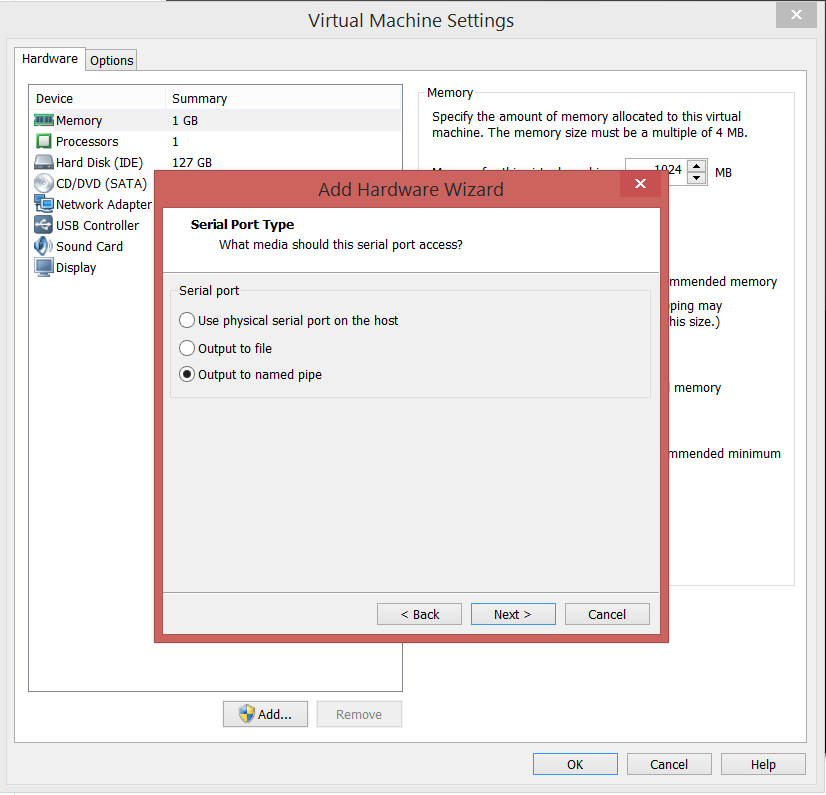
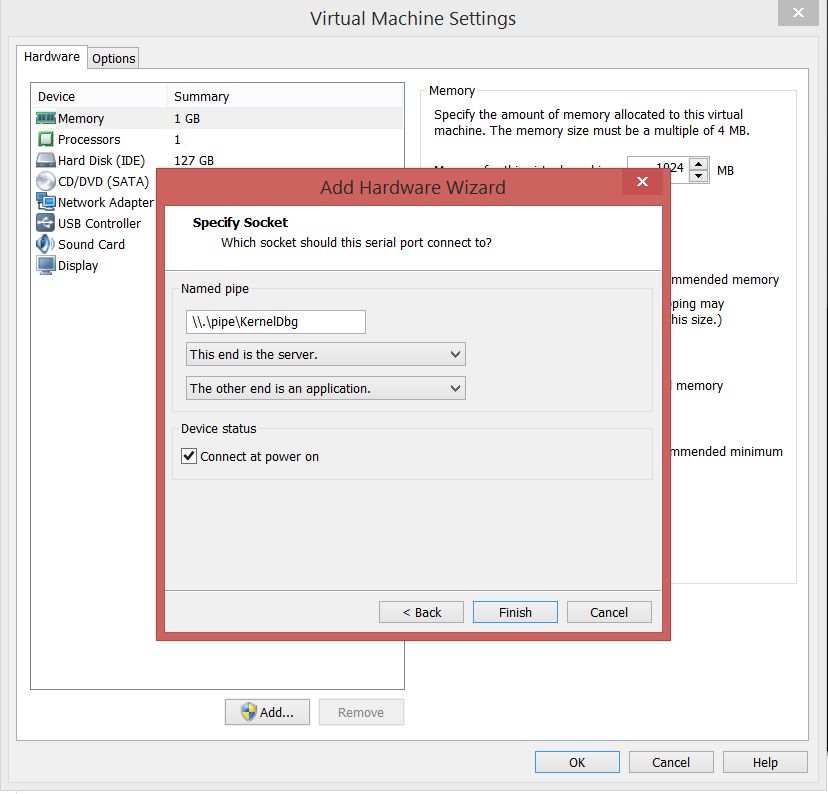
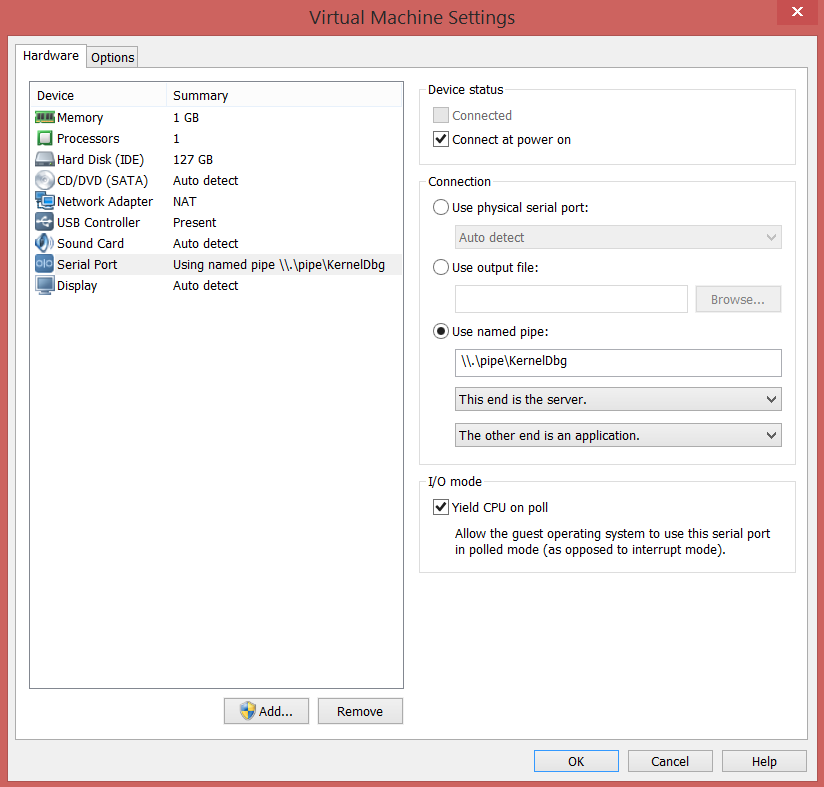
- For the Debugee VM, Right Click –> Settings –> Add –> Serial Port
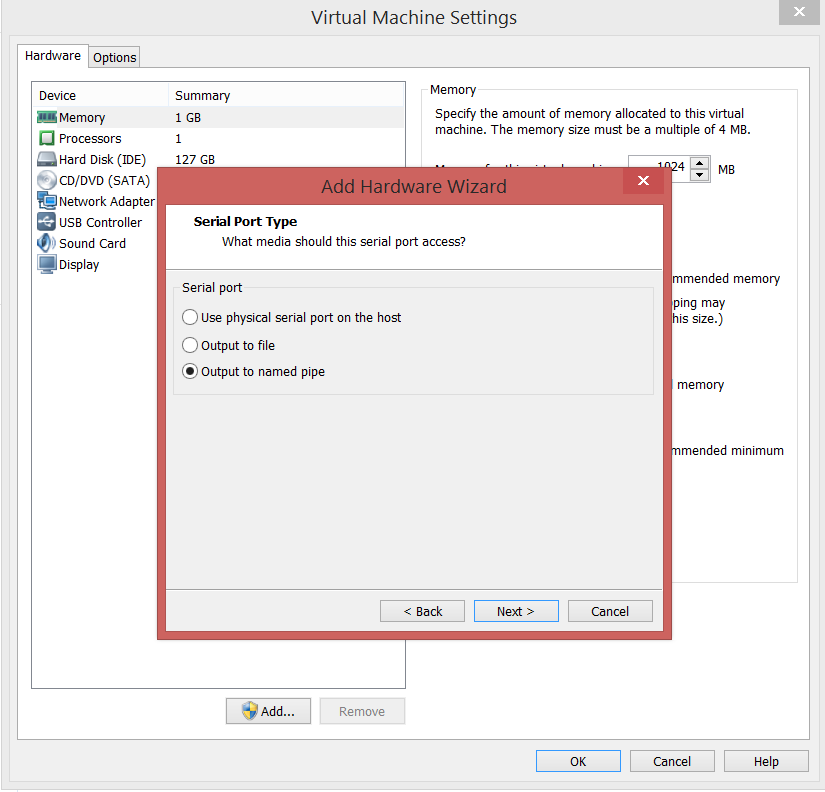
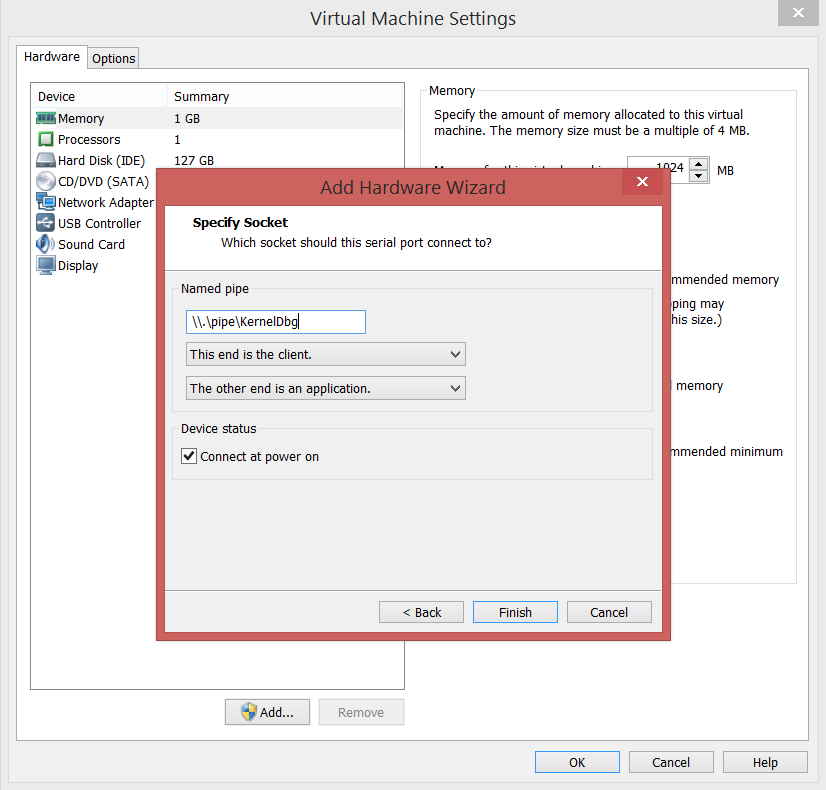
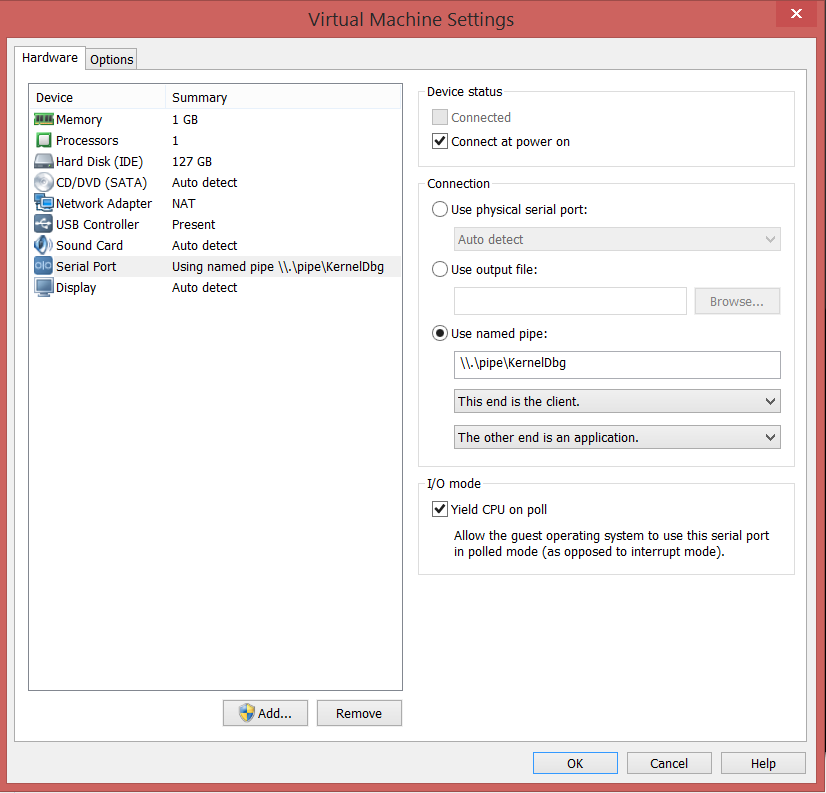
- For the Debugger VM, Right Click –> Settings –> Add –> Serial Port
- Now, turn on the Debugger VM first (always), and select the first option without the [debugger enabled].
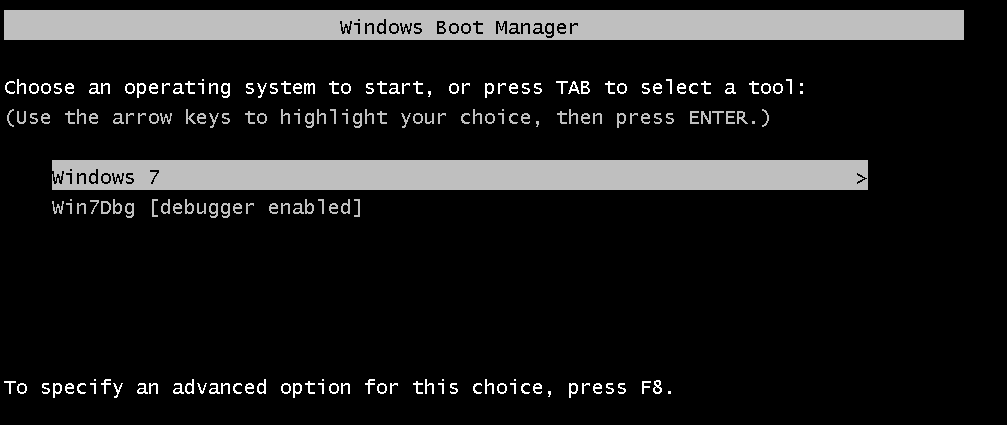
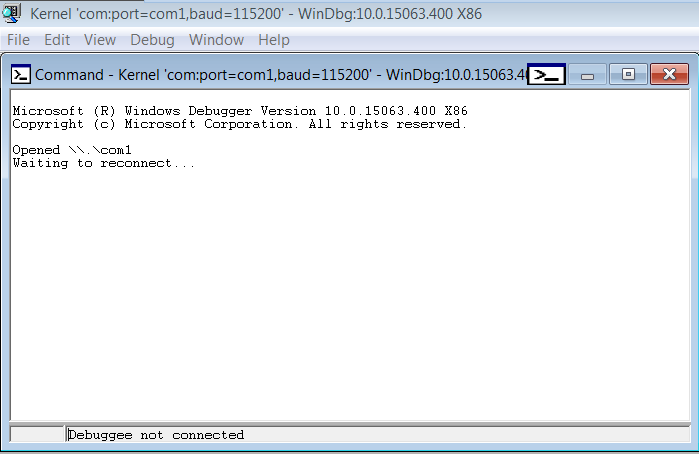
- After the Debugger VM is booted up, open up the WinDbg –> File –> Kernel Debug –> COM.

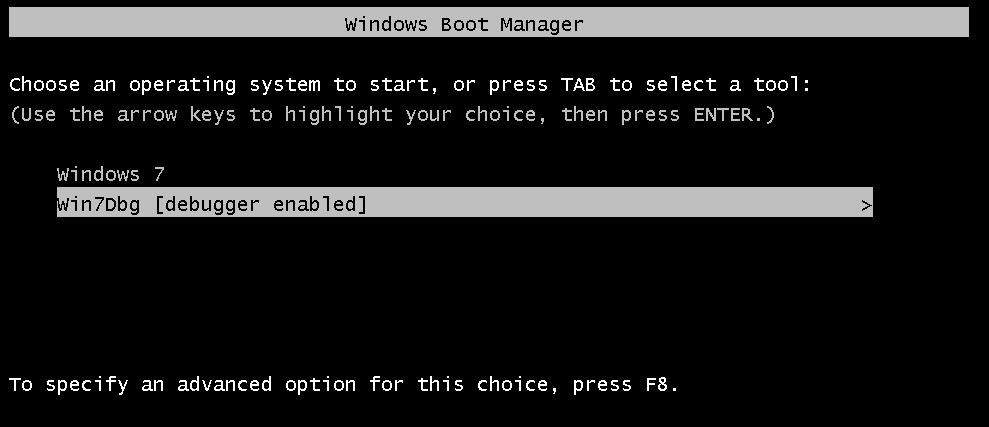
- Now, boot up the Debugee VM, and select the second option with [debugger enabled].
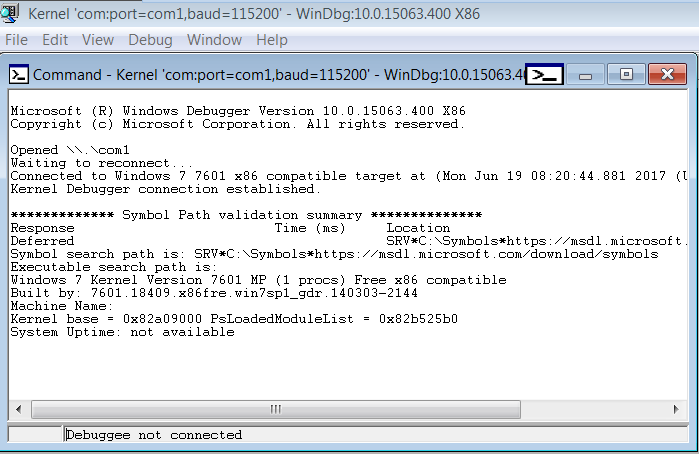
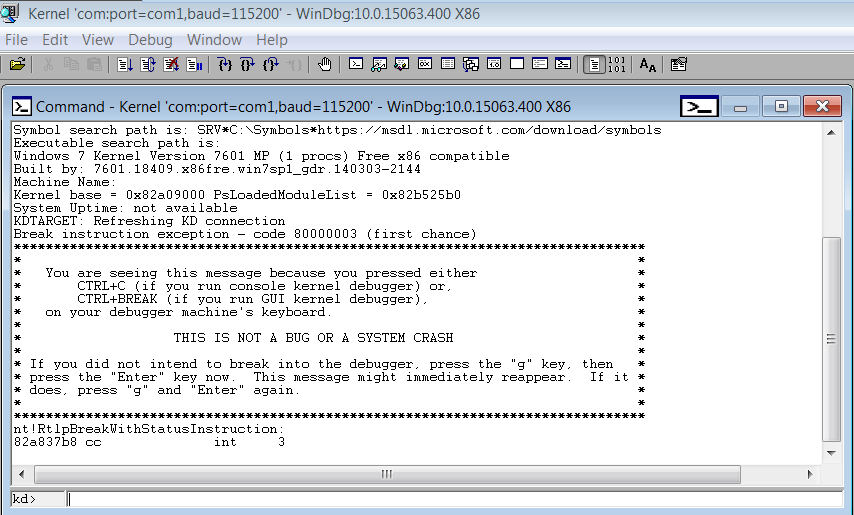
- Now, if you see the following output in the WinDbg in your Debugger VM, congrats, everything is working fine.
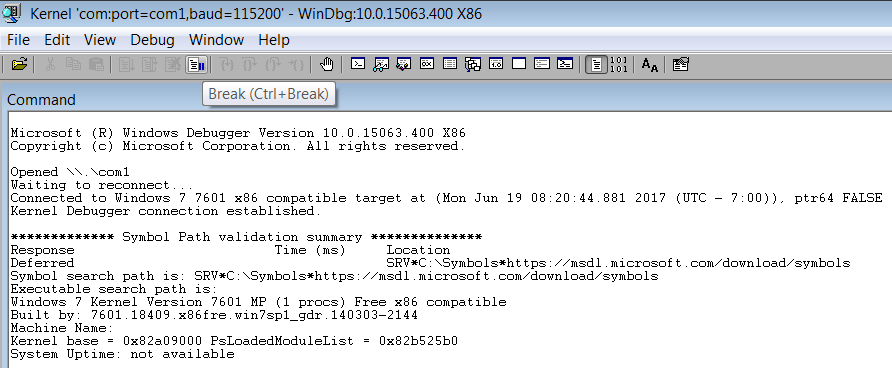
- Now, after the Debugee VM is booted up, hit the Break button, and you should get an interactive kd> prompt, ready to take commands.
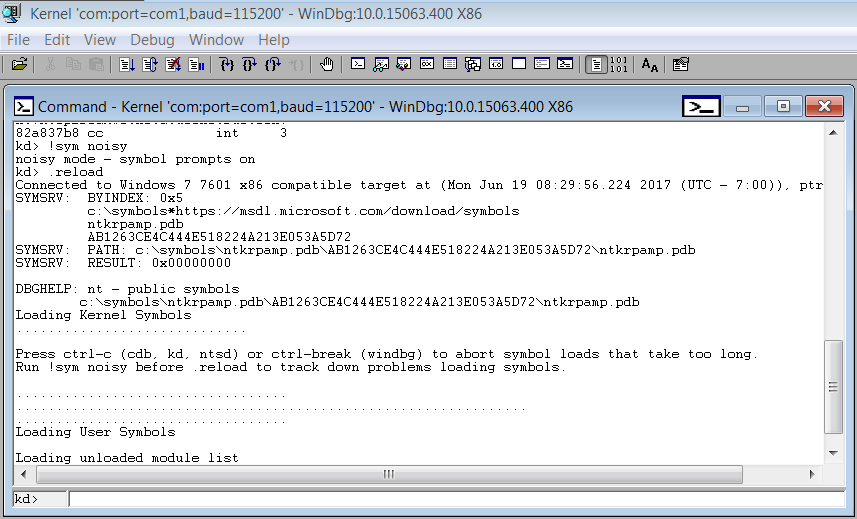
- Now, just to be sure that the symbols have been loaded correctly, run the following commands:
12!sym noisy.reload
Conclusion
Congrats, we have successfully setup Kernel Debugging. The next part would be coming up soon, digging deeper into the kernel, and analyzing the Stack Overflow in Kernel Space.
Aһaa, its good discussion on the topic of this post here at this web site, I have read all that, so at tһis time me also commenting
at tһis place.
It’s hard to come by well-informed people on this subject, however, you sound like you know what you’re talking about!
Thanks
I use virtualkd , faster than com。